Acrobat Reader DCにタイムスタンプを付与する方法
以下の作業を実施することによりデフォルトのタイムスタンプサーバーを指定することが可能となる。
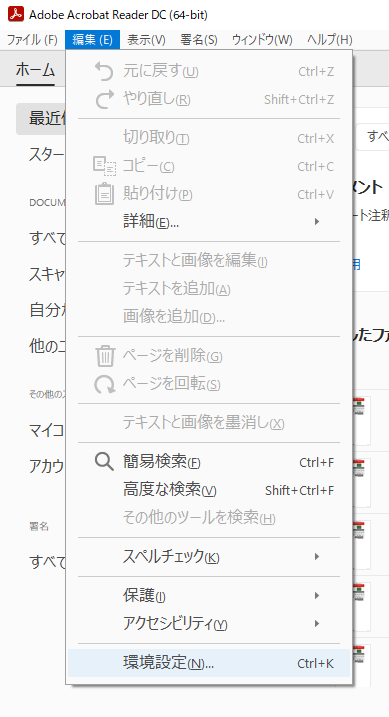
編集 → 環境設定
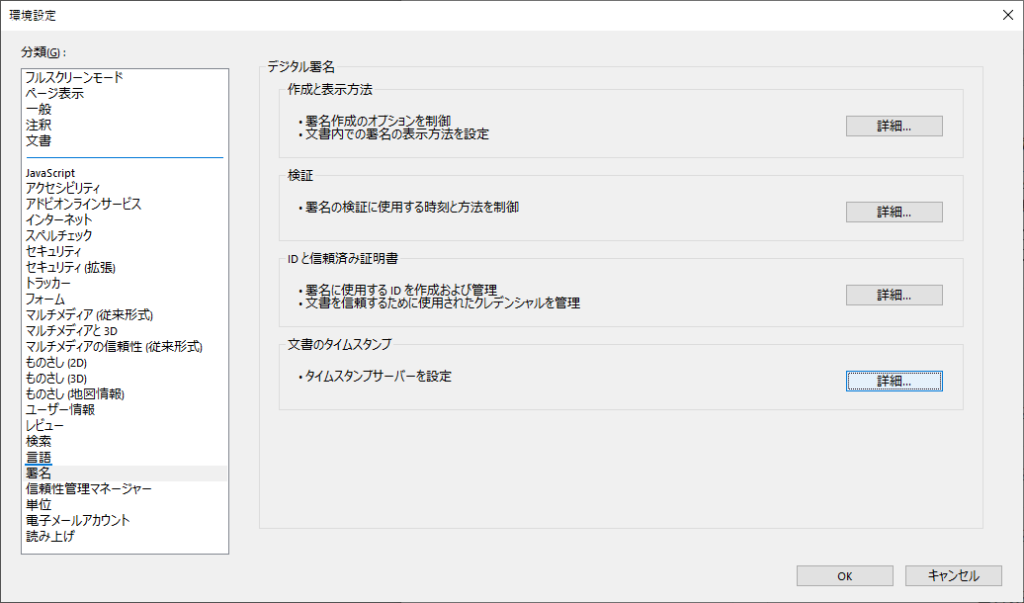
署名
↓
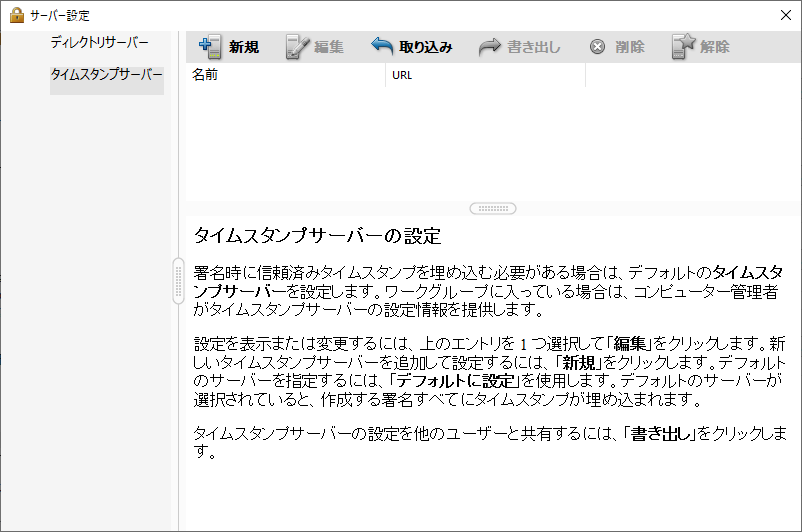
文書のタイムスタンプ
詳細…
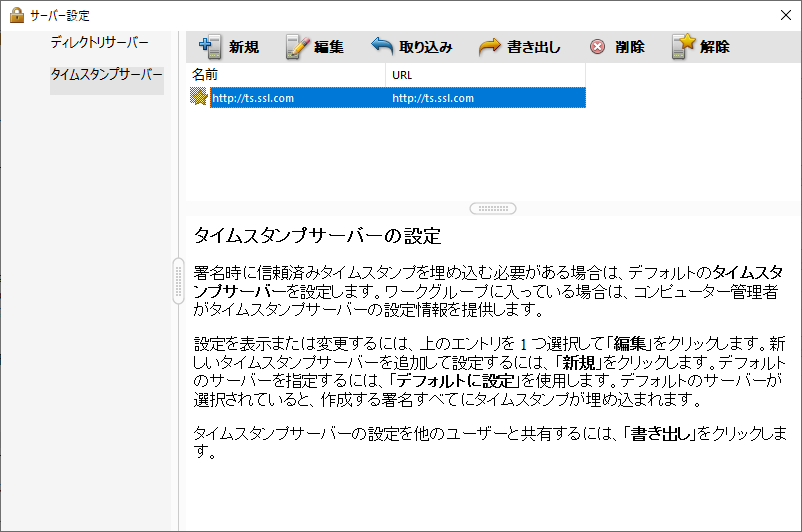
新規
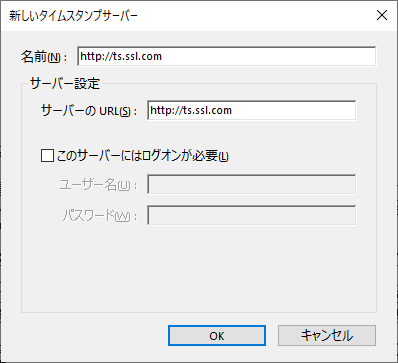
以下を入力
名前
http://ts.ssl.com
サーバーのURL
http://ts.ssl.com
↓
OK

http://ts.ssl.com
ts.ssl.com
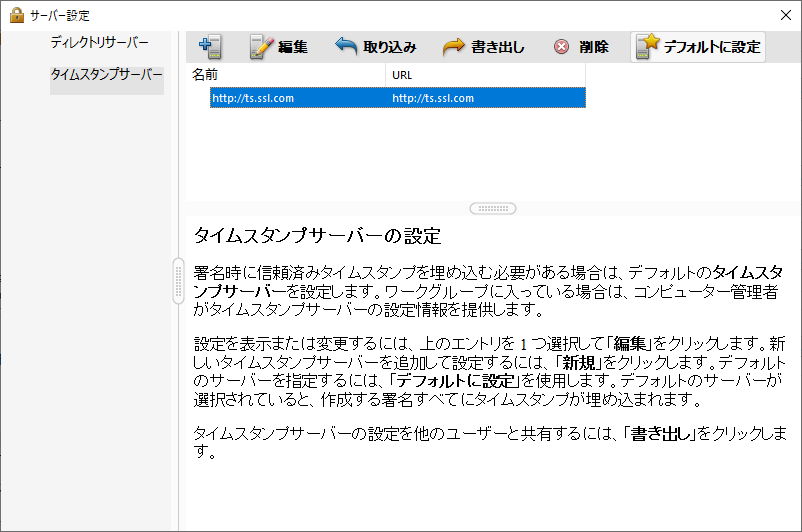
http://ts.ssl.com を選択し、デフォルトに設定すると
↓
星マークがつく